You might be wondering why you need to create any stuff for your pooch when you can just buy it. Well, you see, I’ve been doing this DIY stuff for my dog for years and I can tell you that there is a kind of joy you get when you are making something with your own hands for your little furry friend.
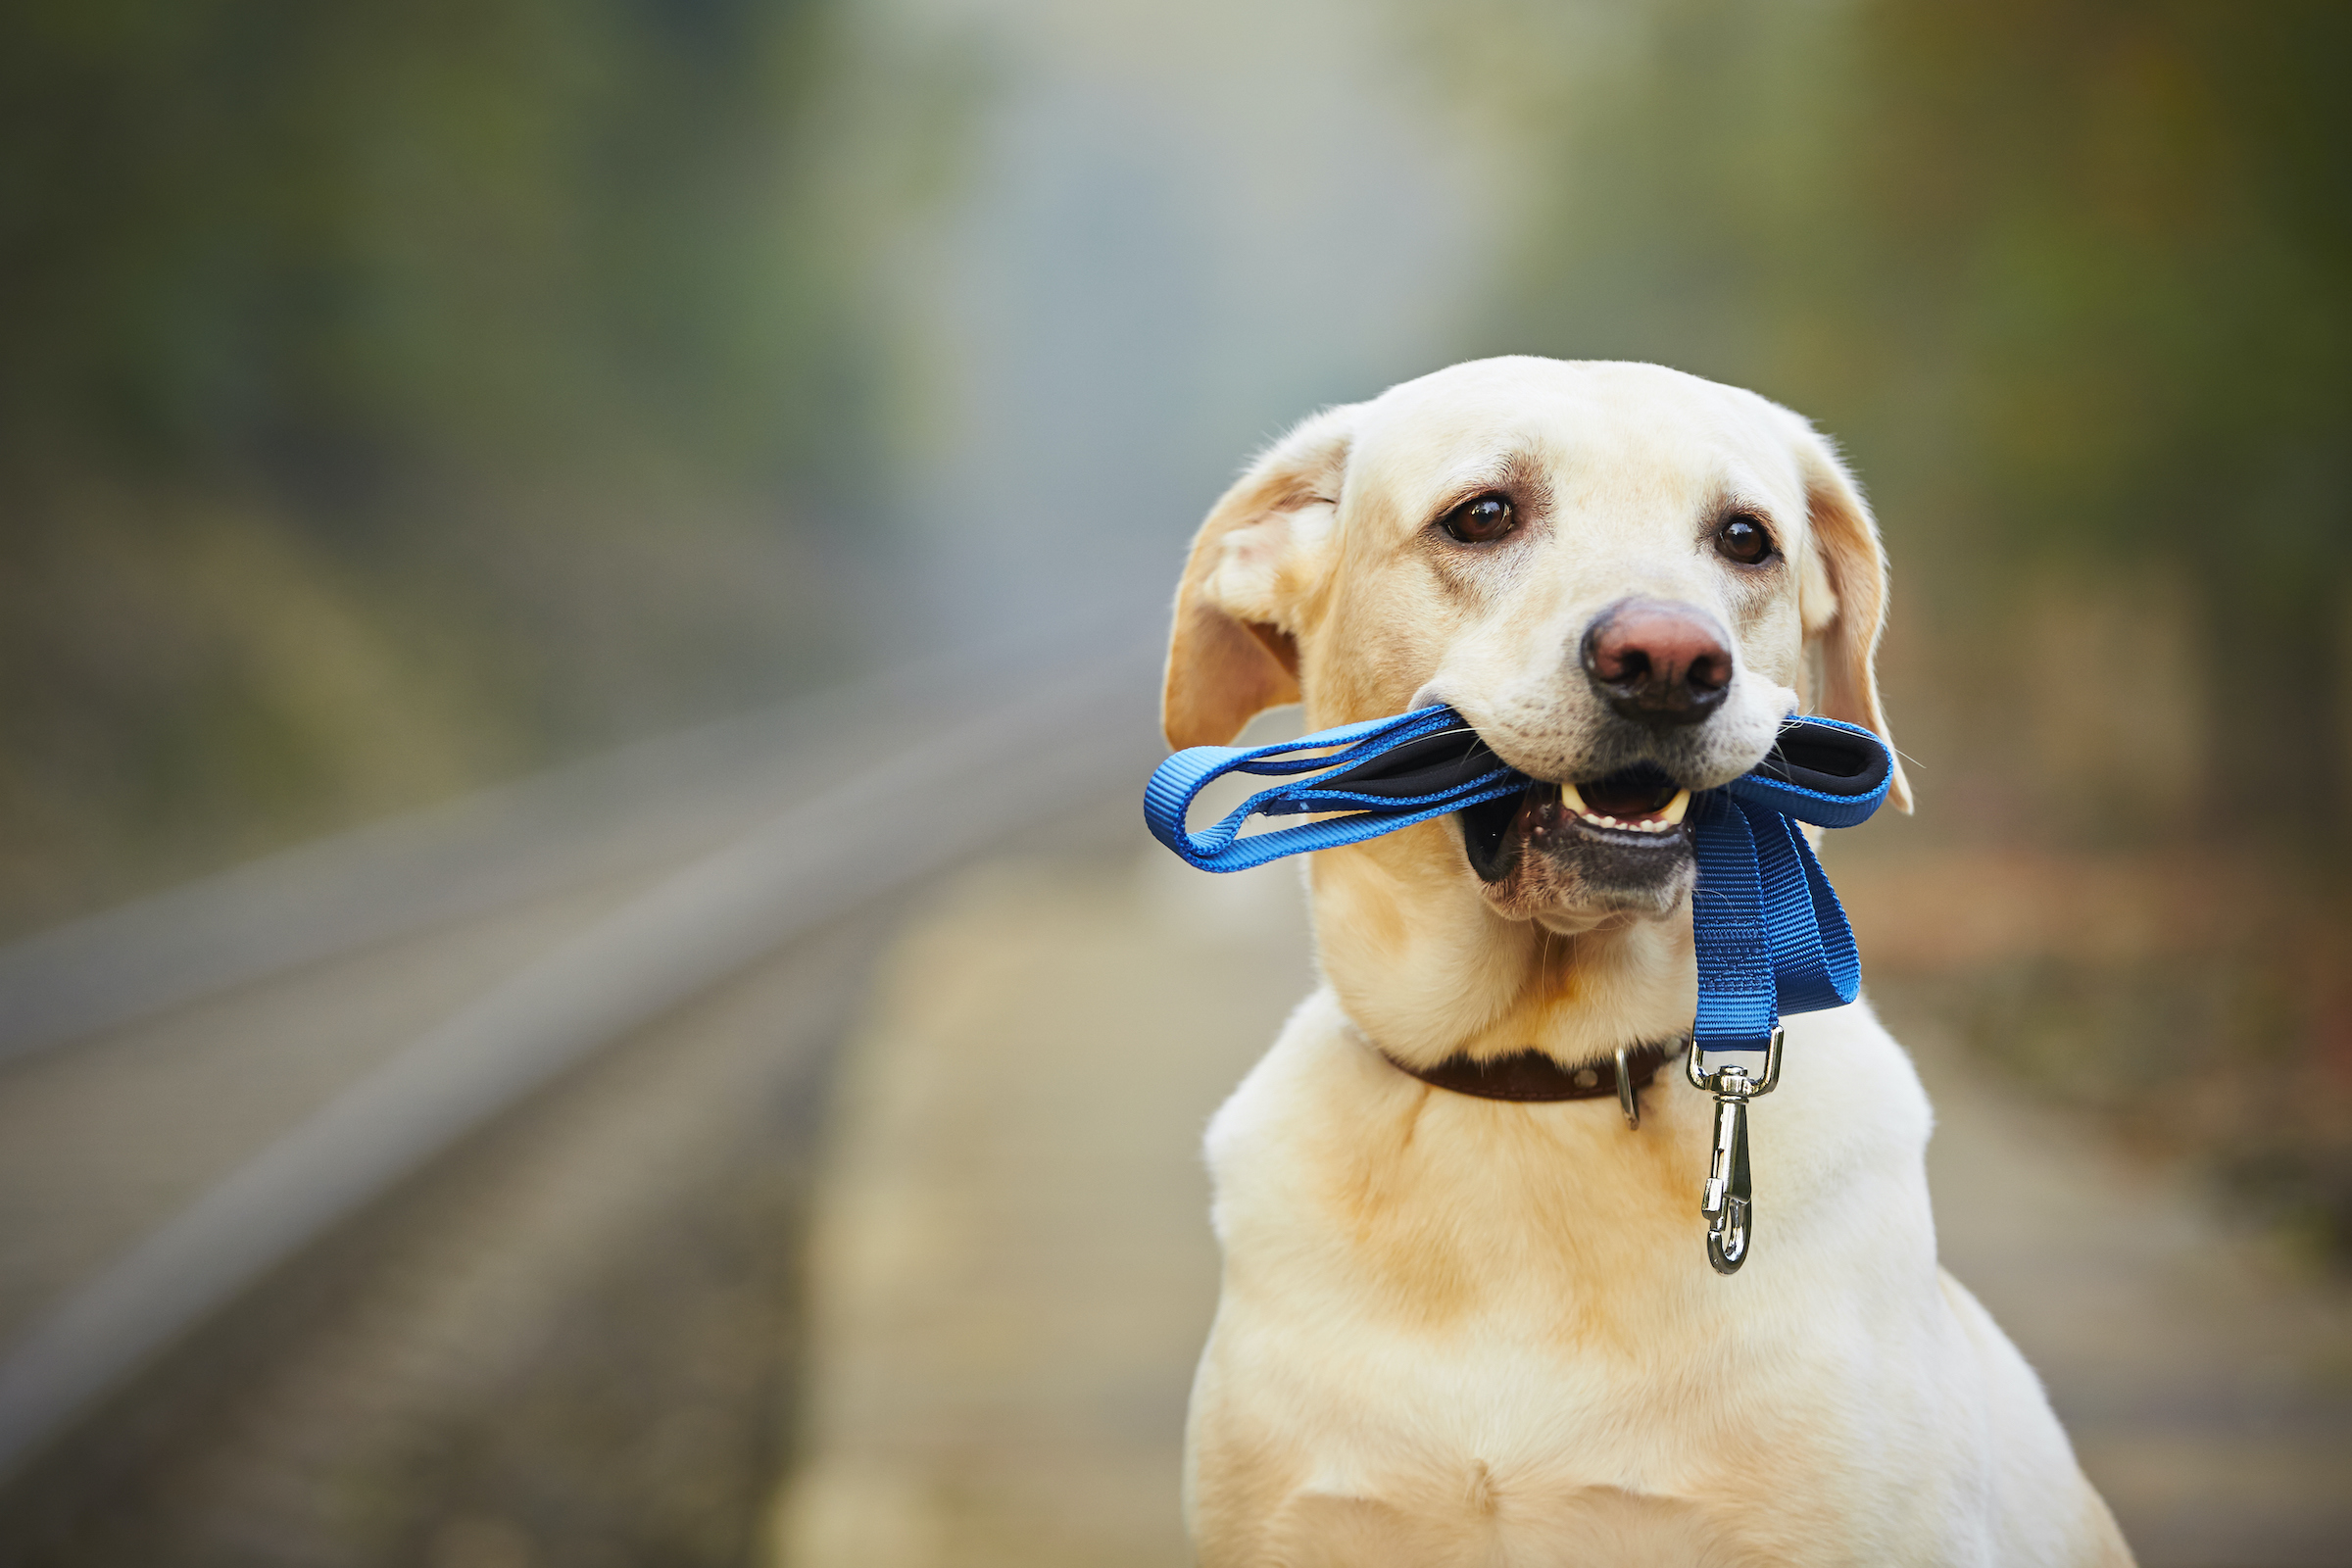
DIY Technicolor Dog Leash
 Materials you’ll need:
- Cotton Rope Leash
- Bowls (choose one for each respective color)
- Tie dye kit
Instructions to make the DIY Technicolor Dog Leash:
Step 1:
Go as per the package directions and combine the dye with the water in the bottles. The dyes I chose really bright, soft and beautiful (since that was how I wanted them to be). So, pour some of the dye into a glass bowl and combine it with additional water. You could use the following as a measurement: one part of dye to thee parts of water ratio.
Step 2:
Now, it’s time to consider how many colors you are going to use and based on that, how long you want the leash to be. Just to give you an idea, I opted for five colors and the leash I made was five feet.
A tip to help you: Before you make your decision or start dying, you can think about how big you want each color section to be. It could be 10’’ or 8’’ inch.
Once you’ve made your choice, put on your gloves and the protective plastic as given in the kit, and get ready for the dying process.
Step 3:
Begin dying the leash’s handle end first. Then, dip the rope into the dish and let it sit for two-three minutes.
Step 4:
Once you remove from the dye, move on to the next color. Now, you will notice that the colors will start blending together a little bit wherever they touch; this will create a very beautiful rainbow-like ombre look.
Little Tip: I know this is an individual task, but trust me, it would be better if you could have a second person with you to hold the already-dyed part so that the colors don’t run and bleed against each other.
Step 5:
Repeat the same process for each one until the whole thing is dyed. And, then let it rest for around 10 or more hours before washing it thoroughly.
DIY Dog Tent
 Materials you’ll need:
- One yard of pillow fabric (that’s optional)
- A thin pillow or batting
- Two yards of tent tepee fabric
- Thread
- Pins
- Measuring tape
- Fabric scissors
- Jute String
- Sewing machine
- Around ¾ dowel rods 32’’ long (4)
Instructions to make the DIY Dog Tent:
Step 1:
Out of the tent tepee fabric, cut out around four pieces of fabric. A personal tip if you’ll be using patterned or striped fabric is to cut the fabric in such a way that all the stripes or patterns are properly lined up.
So, take one panel and fold it in half, with the right sides together. Pin 2′′ from the fabric’s edge. Trace an opening for the front using a pencil or pen. You may make the aperture as huge as you like, but don’t go past the pins 2 inches from the edge.
Step 2:
Trim a piece of fabric from the tent panel fabric remnants and hem it along the entrance opening. And, hem the bottom and top of the panel as well. Also, don’t forget to repeat this same step for the bottom and the top of the other three panels.
Step 3:
Put one of the regular panels on top of the front one (again with the right sides up together) and stick the pin along one edge to make sure the stripes stay lined up. You can then start stitching along the pinned edge.
Step 4:
Now, time to cut the dowel rods. Pin a rod through one of the seams. Assemble the seam such that it is centered on the exterior of the dowel rod. Wrap equal-sized portions of each panel around the rod. Then, take out the rod and stitch along the pinned line. Repeat this step for all four seams.
Step 5:
Insert the rods into the holes you just sewed in step 4 and bind them together with jute thread.