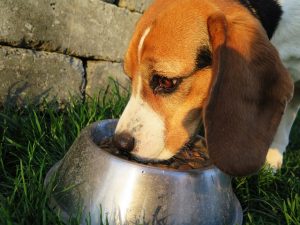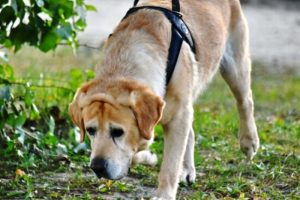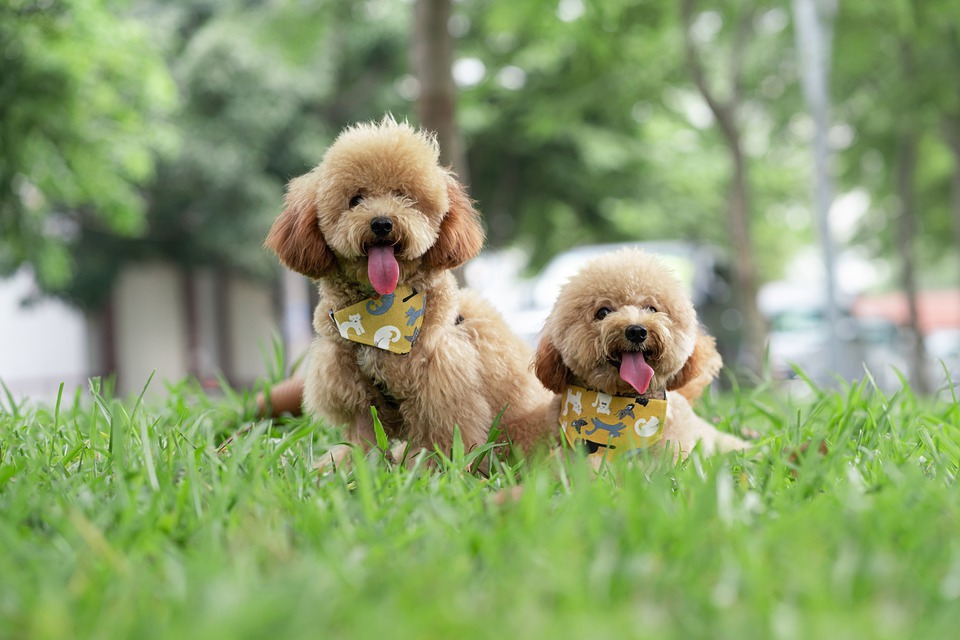
If you ask me what the kindest and most affectionate creature is, I’d say dogs, without a doubt! With their love and loyalty, they can heal broken hearts and make our world a happier place to live, isn’t it?
Mankind’s love for their dogs is entirely pure and is devoid of all the complexities that usually tend to taint human relationships. They are not just our pets, but they are also part of the family.
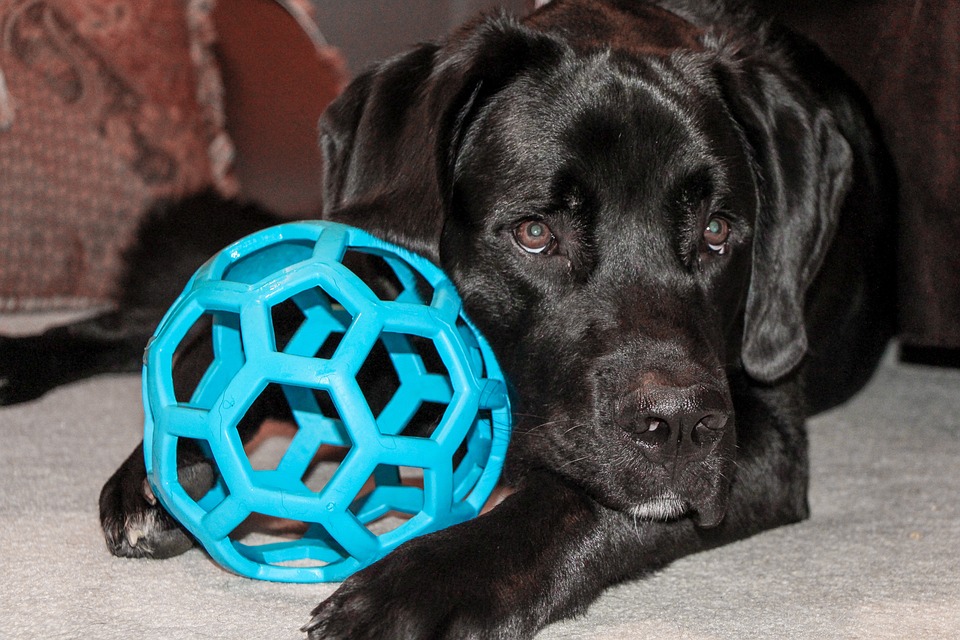
So, if you love your pooch, how about crafting a few things for him?
Dog Bone Toy
 Note: This is going to be a sewing activity, so if you are not that good in that department, better skip it!
Materials you’ll need:
- A pair of scissors
- A few pins
- A sewing machine (obviously!)
- Stuffing
- Matching thread
- 1/4 yard inner fabric ( you could either go for well-shrunk muslin or another tightly woven material)
- 1/4 yard outer fabric (flannel, quilting cotton, sherpa or any strong but soft material)
- A small container filled with dried peas or beans that can make rattle-like noise (that’s optional!)
Instructions on how to make the dog bone toy:
Step 1:
You can choose to download and print either the large dog bone toy pattern template or the small dog bone toy pattern template. You could create and customize one of your own on plain paper.
Once the pattern is printed, cut it out.
Step 2:
Using the pins, stick the pattern to the outer fabric. And, remember to keep the dog bone shape straight on the piece of fabric. If you have chosen the large dog bone template, make sure to place it straight and right on the edge of the template on the fold. And, a little piece of advice for those who’ll be using a thick fabric (like the Sherpa), I suggest cutting only one piece at a time.
So, once you are done with the cutting process of the dog bone shape, try the same with the inner fabric. The end result should include two inside pieces and two outside pieces.
Step 3:
Arrange all the pieces with the right sides of the outer fabric. Cushion them with a piece of the inner fabric on either side. Attach the cloth so that all of the edges are parallel and tight. Label a portion to be left open by pinning one of the straight edges equal to the edge with a pin. This pin will act as a reminder to stop sewing so that you can flip the cloth.
Step 4:
Sew the edges of the bone with a scant 1/4-inch seam allowance, leaving your designated opening unsewn. Backstitch in the beginning and conclusion. Rotate and spin as needed to keep a seam that is an even distance from the fabric’s edge. Clip the seam allowance at all bends so that the cloth lies flat when flipped right side out. Clip just to the sewed seam without cutting the stitches. Clip the layers separately to provide a firm seam. Clip one layer of the seam allowance, then move a short distance away to clip the second layer.
Step 5:
Through the slit, turn the cloth right side out. Turn in the opening seam allowance and press the opening seam line with your finger. Compress the edges with your fingers and push the seams to the fabric’s edge. Stuff the bone with a tiny bit of stuffing at a time. Fill in the ends first, followed by the middle. Make careful to work the stuffing all around the little rattle container in the center.
Step 6:
Close the opening properly with the help of a slip stitch and a doubled thread. And, there the dog bone toy is ready!