People say I’m more than head over heels with Prince; I’m obsessed with him – Prince is my fun and loving golden retriever. I can hardly argue with them.
From portable dog carriers to dental chews and peanut butter flavored bubble makers, I’ve bought everything you can think about for my furry friend. Recently, I’ve come up with a new interesting idea: A DIY indoor dog kennel.
Choose A Location For Your Kennel

It is critical to select the proper location for an indoor kennel. The space must be warm, large, and inviting. It should be a secure habitat for your pets. Consider the following criteria:
- The region should be sufficiently large. Consider allocating at least 1 square meter (11 square feet) for every puppy and no less than 5 square meters (55 square feet) for the entire kennel.
- A window is required. The greater the size, the better. In growing canines, natural lighting promotes optimal growth.
- The room should be warm and free of drafts. The ideal temperature range is 20-24 °C (68-75 °F).
- If you’re raising pups, build a kennel in the dogs’ dwelling space. Puppies may become more sensitive if they do not see their mother or other people all of the time. If the puppy kennel is close to the mother, the puppies may receive more care and have more opportunities to socialize.
Type of Kennel
Determine if you want to build your kennel on a concrete pad or immediately on the ground. Although concrete pads make cleaning the kennel yard much easier because you can just rinse it off, they come at an extra cost. If you’re not sure how to pour concrete yourself, get quotes from two or three concrete companies and select the one that best meets your needs and budget.
Time For Measurements
Determine the kennel’s size by measuring your dog’s height, length, and width, and then allowing for movement and growth. Record the measurements for the bottom and ends on the patterns, and allow for a large door height and breadth. Measure the width and length required for the kennel’s full perimeter.
Keep The Floor And Walls Safe
After the dogs have left, you’ll want to keep your floor and walls clean. As a result, you must ensure that you have adequately safeguarded them before constructing the kennel. The walls of the pen should be coated with wooden or plastic planks. Puppies will jump on and scratch the boards if they are not securely secured.
Set wooden stakes on each corner of kennels erected directly on the ground. Pour concrete mix into the hole after sinking them roughly 1 ft. (.3 m) deep. Pour in the water, give it a little swirl, and leave aside until it’s set. Attach the fence to the posts using securely hammered or screwed brackets. Rep on the last two sides, leaving the back open.
Construction Phase:
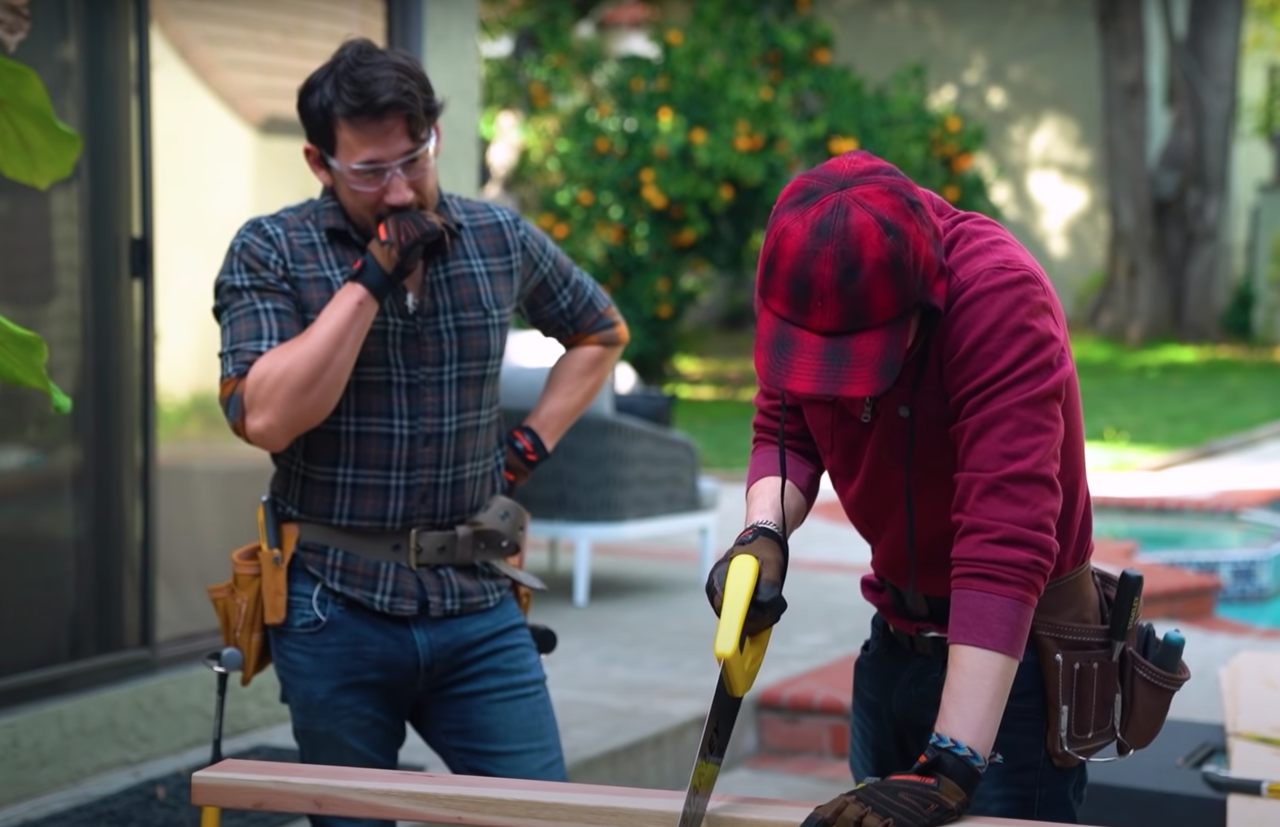
Step 1: Place the plywood panel on a pair of saw horses, good side up. Mark out each component with a rafter square, making sure the wood grain runs vertically on the end panels and horizontally on the side ones. Ensure that the front and back panels conceal the end grains of the side panels.
Step 2: To mark the roof angle, draw a line down the center of the roof.
Step 3: One end panel and one side panel should be marked and cut. Then, using these as templates, cut the opposite end and side panels.
Step 4: Using a jigsaw, cut the door aperture.
Step 5: Apply glue to the edges of the cut sides and end panels before nailing or screwing them to the floor.
Step 6: Bevel the roof’s edges with a saw or plane to make a miter join. Undercut the overhanging edges to aid in the drainage of water and to avoid excessive moisture on the end grain. These must be rounded off for safety. The roof panels should next be glued and fastened to the kennel.
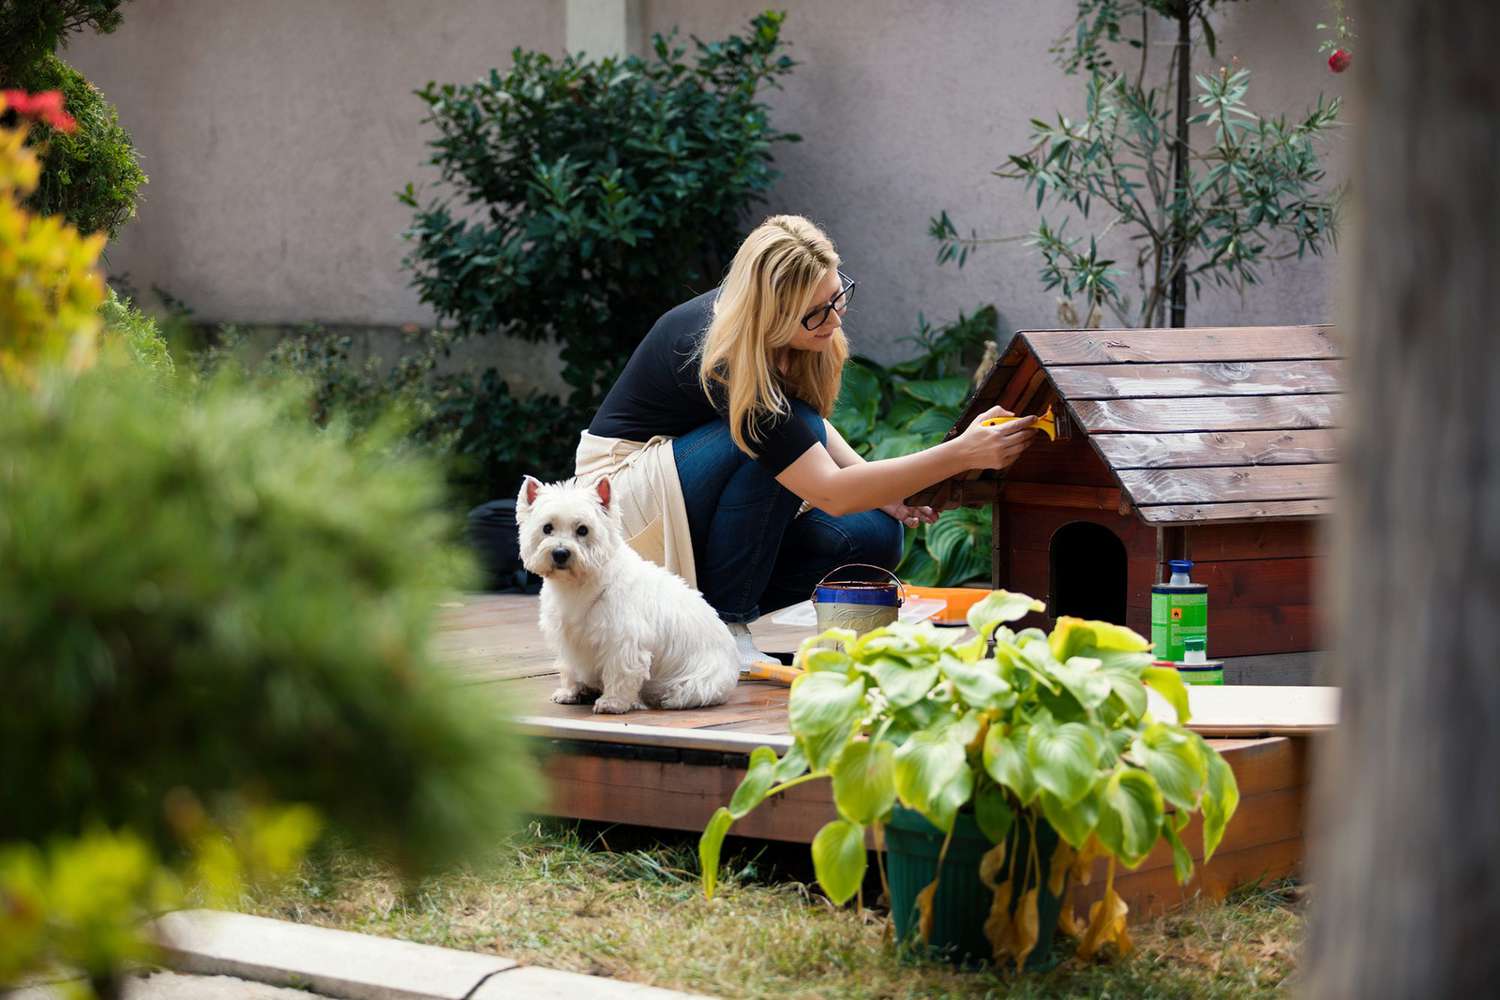
And there, you have a simple indoor dog kennel built for your pooch.


1 thought on “DIY Dog Plans: Building An Indoor Dog Kennel”